✓ Always connect positive to positive, negative to negative (or ground).
✓ Ensure both vehicles are off before connecting cables.
✓ Never let jumper cable clamps touch each other.
✓ Jumper cables are a temporary fix; get your battery tested soon.
How It Works
1
Position Vehicles & Gather Tools
Park the working vehicle facing the disabled car, close enough for cables to reach. Gather your jumper cables and ensure they are in good condition, free from fraying or damage.
2
Connect Jumper Cables Safely
Attach the red (positive) clamp to the dead battery's positive terminal, then the other red clamp to the working battery's positive terminal. Next, attach the black (negative) clamp to the working battery's negative terminal, and the final black clamp to an unpainted metal surface on the dead car's engine block or frame, away from the battery.
3
Start the Working Vehicle
Once cables are securely connected, start the engine of the working vehicle. Let it run for 5-10 minutes to charge the dead battery slightly. This pre-charge helps reduce the strain on both batteries.
4
Attempt to Start the Dead Vehicle
After the charging period, try to start the disabled car. If it starts, let both vehicles run for a few more minutes before carefully disconnecting the cables in reverse order: black from the dead car, black from the working car, red from the working car, and finally red from the dead car.
Understanding Your Car Battery and Why It Dies
Photo: Sergey Meshkov / Pexels
Before diving into how to jump start a car, it’s crucial to understand the component at the heart of the issue: your car battery. The battery is a rechargeable electrochemical device that supplies electric current to your car's electrical system. Its primary role is to provide the initial burst of power needed to crank the engine, which then allows the alternator to take over and power the car while simultaneously recharging the battery. Most car batteries are 12-volt lead-acid batteries, consisting of six cells, each producing approximately 2.1 volts. These cells contain lead plates immersed in an electrolyte solution of sulfuric acid and water.
Several factors can lead to a dead car battery. The most common culprit is simply leaving headlights on, or an interior light, for an extended period after turning off the engine. This parasitic drain can completely deplete the battery's charge. Extreme weather, both hot and cold, also significantly impacts battery life. Cold weather reduces the battery's cranking power and makes the engine oil thicker, requiring more energy to turn the engine over. Hot weather, surprisingly, is even more detrimental to a battery's long-term health, accelerating the evaporation of electrolyte fluid and causing internal corrosion, leading to premature failure.
Another frequent cause is infrequent driving. If your car sits for long periods, the battery can slowly discharge, and without the alternator actively recharging it, it will eventually lose enough charge to prevent starting. A faulty charging system, particularly a malfunctioning alternator, is another serious issue. If the alternator isn't properly recharging the battery while the engine is running, the battery will eventually die, even with regular driving. Lastly, old age is an inevitable factor. Car batteries typically last between 3 to 5 years, depending on climate, driving habits, and maintenance. As a battery ages, its ability to hold a charge and deliver cranking amps diminishes. Recognizing these underlying causes can help you prevent future battery issues and understand when a jump start is a temporary fix versus a sign of a deeper problem. Regular maintenance, such as checking battery terminals for corrosion and ensuring proper fluid levels (if applicable), can extend battery life. For more in-depth information on battery care, check out our guide on car battery maintenance tips. Understanding these basics is your first step in diagnosing and addressing a dead car battery.
Essential Equipment and Safety Precautions for Jump Starting
Photo: Vladimir Srajber / Pexels
Before you even think about how to jump start a car, gathering the right equipment and understanding crucial safety precautions is paramount. The primary tool you’ll need is a set of good quality jumper cables. Look for cables that are at least 10-20 feet long and have a heavy gauge wire (e.g., 6-gauge or 4-gauge) for efficient current transfer. Thicker cables (lower gauge number) can handle more current and are generally more durable. Ensure the clamps are sturdy and have strong springs to maintain a secure connection. Beyond the cables, it's wise to have a pair of work gloves to protect your hands, and safety glasses to shield your eyes from any potential sparks or battery acid, though the latter is rare with modern sealed batteries. A flashlight can also be invaluable if you're attempting a jump start in low light conditions.
Safety is non-negotiable when dealing with car batteries and electrical currents. First, always ensure both vehicles are turned off before connecting any cables. This prevents electrical surges and reduces the risk of sparks. Engage the parking brakes on both vehicles to prevent any accidental movement. Check both batteries for any signs of damage, such as cracks, leaks, or excessive corrosion around the terminals. If a battery is visibly damaged or frozen, do NOT attempt to jump start it, as it could explode.
Another critical safety rule is to never let the metal clamps of the jumper cables touch each other once they are connected to a battery. This can cause a dangerous short circuit. Also, be mindful of where you connect the negative cable to the dead vehicle. It should always be attached to an unpainted metal surface on the engine block or frame, away from the battery. This creates a ground connection and minimizes the risk of igniting hydrogen gas that can vent from the battery. Keep children and pets away from the vehicles during the process. If you are unsure at any point, or if you notice strange smells (like rotten eggs, indicating a leaking battery), excessive smoke, or hear unusual noises, stop immediately and seek professional assistance. Adhering to these safety measures will make the jump-starting process much safer and more effective, protecting both you and your vehicles.
Step-by-Step Guide: How to Jump Start a Car Correctly
Photo: Daniel @ bestjumpstarterreview.com / Pexels
Now that you're equipped and aware of the safety measures, let's walk through the precise steps on how to jump start a car. This process requires careful attention to detail to ensure safety and success.
**Step 1: Position the Vehicles and Prepare.** Drive the working vehicle (the one with the charged battery) so that it faces the disabled vehicle, or is parked alongside it, close enough for the jumper cables to reach comfortably without being taut. Ensure there’s enough space to work around both vehicles. Turn off both engines, engage the parking brakes on both cars, and turn off all accessories (lights, radio, AC) in both vehicles. Pop both hoods. If either car has a plastic engine cover, you may need to remove it to access the battery terminals. Locate the positive (+) and negative (-) terminals on both batteries. The positive terminal is usually larger and marked with a plus sign, often covered by a red cap. The negative terminal is marked with a minus sign and typically has a black cap or no cap.
**Step 2: Connect the Jumper Cables.** This is the most critical part. Take your red jumper cable. Attach one end of the red (positive) clamp to the positive (+) terminal of the dead battery. Ensure it’s a firm, secure connection. Next, take the other end of the red (positive) clamp and attach it to the positive (+) terminal of the working battery. Now, take your black jumper cable. Attach one end of the black (negative) clamp to the negative (-) terminal of the working battery. Finally, and this is crucial for safety, attach the other end of the black (negative) clamp to an unpainted metal surface on the engine block or frame of the *dead vehicle*, away from the battery itself. This creates a ground connection and helps prevent sparks from igniting hydrogen gas that might be present around the battery. Do not connect it directly to the negative terminal of the dead battery unless specifically instructed by your vehicle's manual and you are absolutely certain it is safe.
**Step 3: Start the Working Vehicle and Charge.** Once all four clamps are securely connected, start the engine of the working vehicle. Let it run for at least 5 to 10 minutes. This allows the alternator of the working vehicle to send a charge to the dead battery, giving it a small boost. You might even hear a slight hum or feel the cables warm up slightly, indicating current flow. During this time, you can try turning on some interior lights or the radio in the dead car to see if it's receiving power.
**Step 4: Attempt to Start the Dead Vehicle.** After the charging period, turn off any accessories in the dead car that might draw power. Then, attempt to start the engine of the disabled vehicle. If it cranks slowly or doesn't start, wait a few more minutes with the working car running, then try again. If it starts, let both engines run for a few minutes, ideally 5-10 minutes, to allow the dead battery to get a bit more charge from its own alternator.
**Step 5: Disconnect the Jumper Cables.** Disconnecting the cables in the correct order is just as important as connecting them. First, remove the black (negative) clamp from the unpainted metal surface of the now-started vehicle. Second, remove the black (negative) clamp from the negative terminal of the working vehicle. Third, remove the red (positive) clamp from the positive terminal of the working vehicle. Finally, remove the red (positive) clamp from the positive terminal of the now-started vehicle. Be careful not to let the clamps touch each other or any metal surfaces on the car while disconnecting. Once disconnected, coil your cables neatly and store them. Drive the newly started vehicle for at least 20-30 minutes to allow its alternator to fully recharge the battery. It's highly recommended to get your battery and charging system tested at an auto parts store or mechanic soon after a jump start to diagnose the underlying issue. For a reliable test of your battery's health, consider investing in a portable battery tester.
Troubleshooting and What to Do After a Successful Jump Start
Photo: Erik Mclean / Pexels
Even with the best intentions and adherence to the step-by-step guide, sometimes a car won't jump start on the first try. If your car still won't start after following the procedure, here are some troubleshooting tips: Double-check all cable connections. Are they firm and secure on the correct terminals? Is the negative clamp on the dead car truly on an unpainted metal surface? Sometimes a loose connection is the only problem. Ensure the working vehicle's engine is running at a slightly higher idle to provide more charge. If the car still won't start, listen for specific sounds. A rapid clicking sound often indicates a severely discharged battery that needs more time to charge, or a problem with the starter motor itself. No sound at all could point to a completely dead battery, a faulty starter, or an ignition switch issue. If the car cranks but doesn't turn over, the issue might not be the battery at all, but rather a fuel delivery problem or ignition system fault.
After a successful jump start, your immediate next step is to drive the vehicle for at least 20-30 minutes at a steady speed. This allows the alternator to adequately recharge the battery. Short trips or idling won't provide enough charge. However, a jump start is almost always a temporary solution. The fact that your battery died in the first place indicates an underlying problem. Your next crucial step should be to get your battery and charging system (alternator, voltage regulator, and associated wiring) professionally tested. Most auto parts stores offer this service for free. They can tell you if your battery is simply old and needs replacement, or if there's an issue with your alternator that's preventing the battery from charging properly. Ignoring this could leave you stranded again very soon.
Consider replacing an old battery proactively, especially if it's nearing or past its typical lifespan (3-5 years). If the problem was simply leaving lights on, and the battery tests good, you might be fine. But if it's an intermittent issue or the battery tests weak, replacement is the safest bet. Also, remember to check for parasitic drains – anything that draws power when the car is off. This could be a faulty light switch, a malfunctioning accessory, or even an aftermarket alarm system. Addressing these issues will prevent future dead battery scenarios and save you from the inconvenience of needing another jump start.
Comparison
Feature
Traditional Jumper Cables
Portable Jump Starter
Battery Charger
Requires another car
Yes
No
No
Portability
Moderate (requires cables)
High (self-contained unit)
Low (needs AC outlet)
Ease of Use
Moderate (correct connection order)
High (often smart clamps)
Moderate (charging time)
Charging Time
Instant (if successful)
Instant (if successful)
Hours (for full charge)
Cost
$20-$50
$60-$200+
$40-$150
Best Use Case
Emergency with helper
Solo emergencies, remote areas
Preventative maintenance, long-term storage
What Readers Say
★★★★★
"This guide saved me! My car died in a parking lot, and I used these instructions to jump start it with a kind stranger's help. The step-by-step for connecting the cables was super clear and reassuring."
Sarah L. · Austin, TX
★★★★★
"I always forget the order of the cables. This article laid it out perfectly, especially the part about grounding the negative cable away from the battery. My car started right up!"
Mark D. · Chicago, IL
★★★★★
"After reading this, I felt confident enough to jump start my neighbor's car. It worked on the first try, and they were so grateful. The safety tips were particularly helpful."
Jessica M. · Miami, FL
★★★★★
"Good comprehensive guide. The only thing missing for me was a quick troubleshooting section on what to do if it still doesn't start, but the main jump start steps were excellent."
David R. · Denver, CO
★★★★★
"My husband was out of town, and I was dreading dealing with a dead battery. This guide empowered me to handle it myself. Knowing the 'why' behind the steps made it less intimidating."
Emily P. · Seattle, WA
Frequently Asked Questions
What are the most common mistakes when trying to jump start a car?
The most common mistakes include connecting the cables in the wrong order (especially reversing positive and negative), allowing the clamps to touch, connecting the negative cable directly to the dead battery's negative terminal (which can be dangerous due to hydrogen gas), and not letting the working car run long enough to transfer sufficient charge. Not ensuring both vehicles are off before connecting is also a frequent error.
Is jump starting bad for my car or the donor car?
If done correctly, jump starting is generally safe for both vehicles. However, incorrect connections can cause electrical damage to either car's sensitive electronics, including the alternator or ECU. Always follow the steps precisely to avoid risks. Using a surge protector on the donor car can add an extra layer of protection.
How long should I drive my car after a jump start?
After a successful jump start, you should drive your car for at least 20-30 minutes at a steady speed to allow the alternator sufficient time to recharge the battery. Short trips or idling may not provide enough charge, risking the battery dying again.
How much does a new car battery cost, and when should I replace it?
The cost of a new car battery typically ranges from $100 to $250, depending on the brand, type, and vehicle make/model. You should consider replacing your battery if it's more than 3-5 years old, frequently dies, or fails a professional battery test, even after a successful jump start.
Can I jump start a car with a portable jump starter instead of another car?
Yes, portable jump starters are excellent alternatives. They are self-contained battery packs designed to provide the necessary boost without needing a second vehicle. They often come with built-in safety features like reverse polarity protection and are very convenient for solo emergencies.
Who should know how to jump start a car?
Every driver should know how to jump start a car. It's a fundamental roadside skill that can save you time, money, and stress when faced with a dead battery. It's particularly useful for those who drive frequently, live in areas with extreme temperatures, or own older vehicles.
What are the risks of jump starting a car incorrectly?
Incorrect jump starting can lead to several risks, including electrical damage to either vehicle's computer or charging system, battery explosion (if hydrogen gas ignites), sparks that can cause burns or ignite flammable materials, and short circuits that can damage the jumper cables themselves. Always prioritize safety and follow instructions carefully.
Are there any advancements in jump starting technology?
Modern advancements include smart jumper cables with built-in surge protection and reverse polarity indicators, and increasingly powerful and compact portable jump starters that can also function as power banks for electronic devices. Some vehicles now even integrate battery management systems that monitor battery health and prevent over-discharge.
Don't let a dead battery ruin your day. By understanding how to jump start a car safely and effectively, you gain a vital skill for any driver. Keep this guide handy, ensure you have quality jumper cables, and drive with confidence knowing you're prepared for unexpected battery issues.
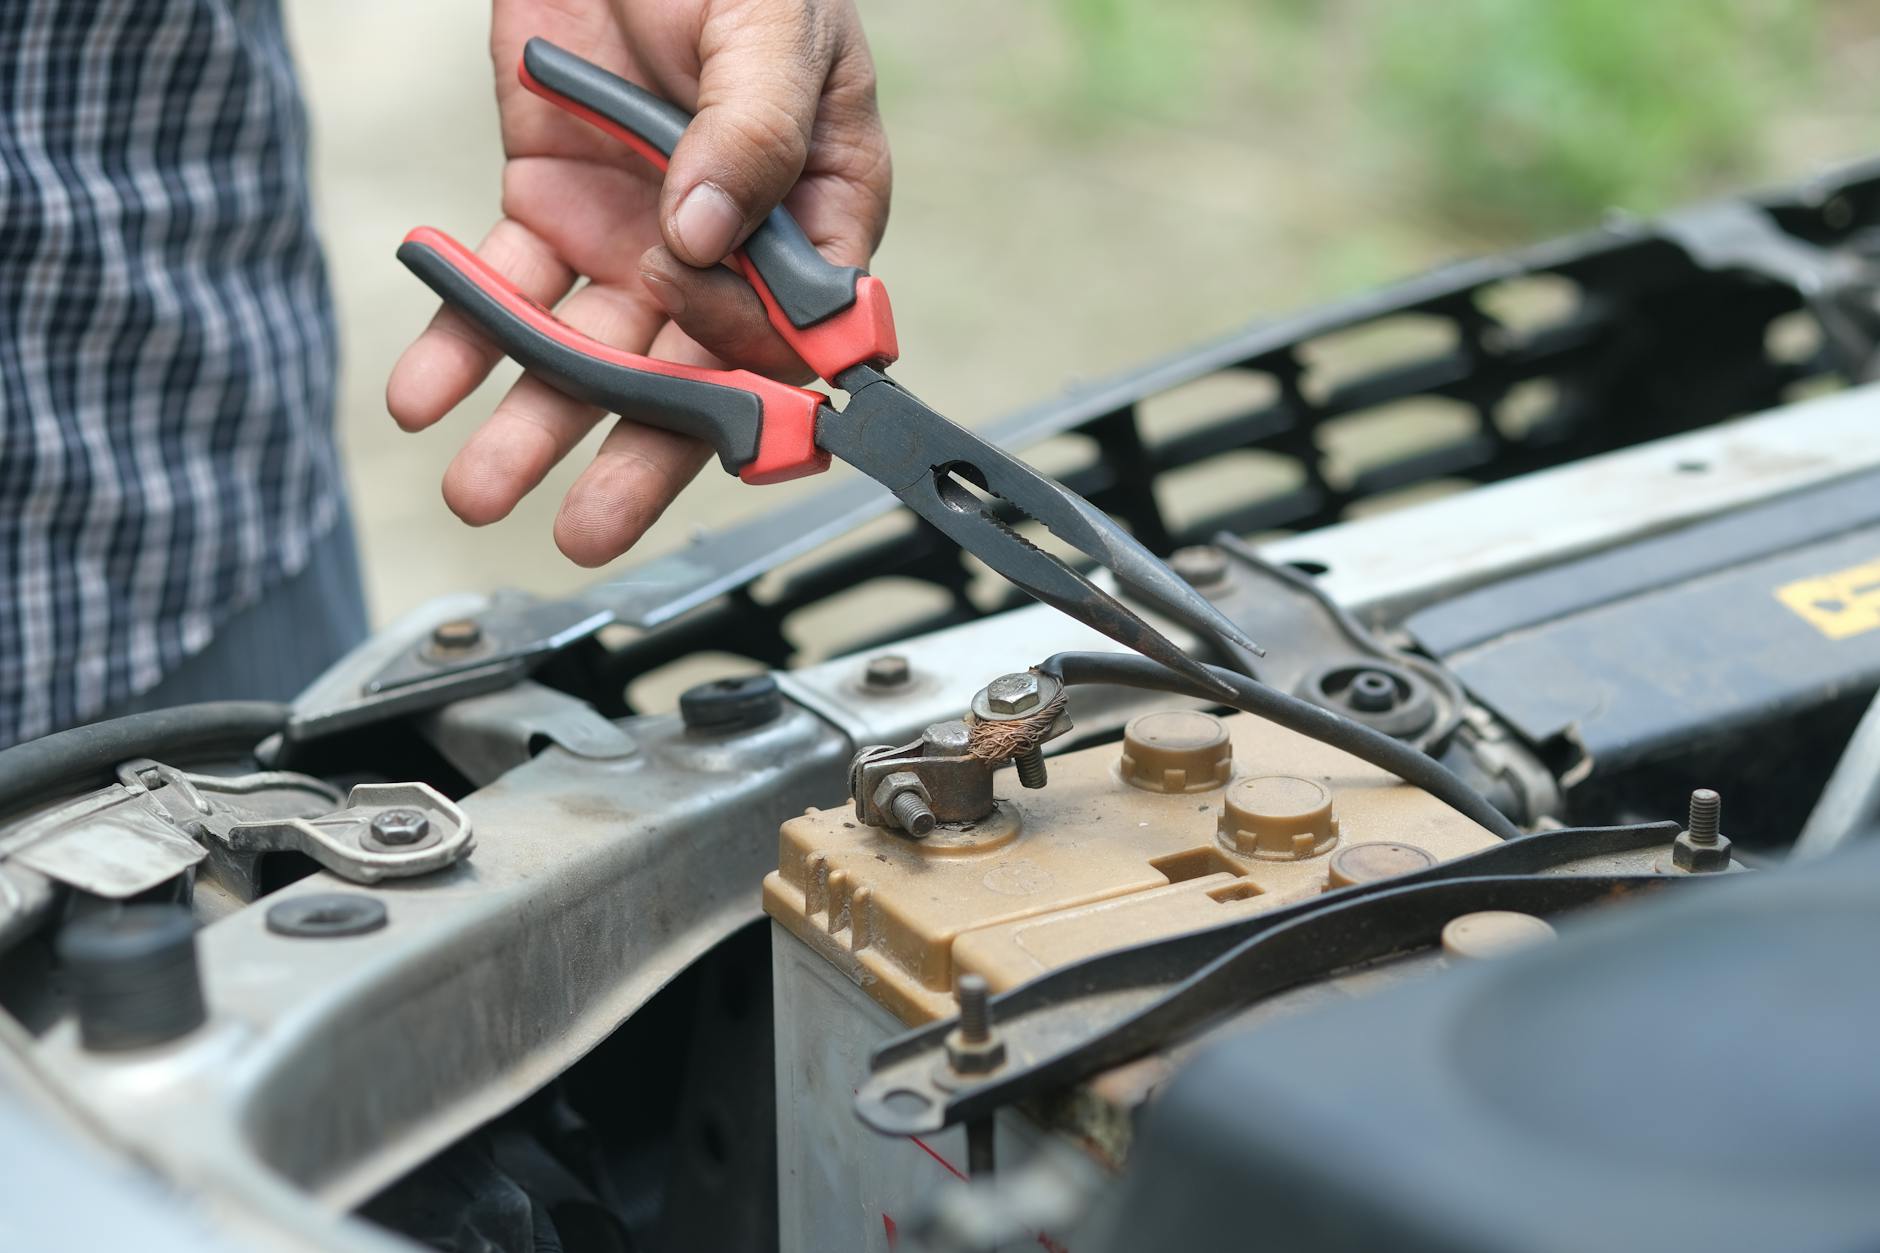
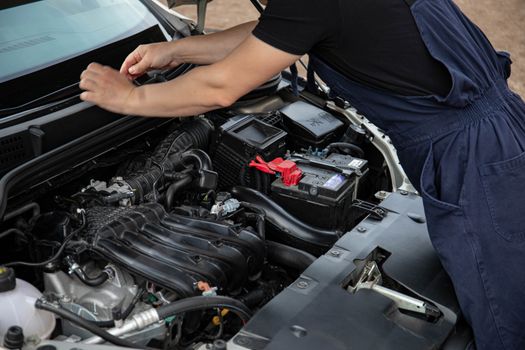 Photo: Sergey Meshkov / Pexels
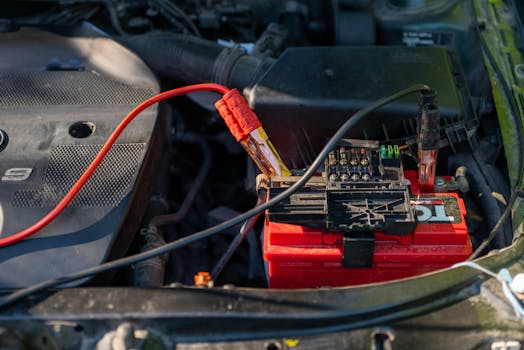 Photo: Vladimir Srajber / Pexels
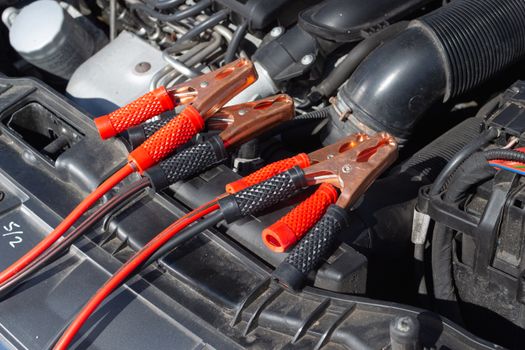 Photo: Daniel @ bestjumpstarterreview.com / Pexels
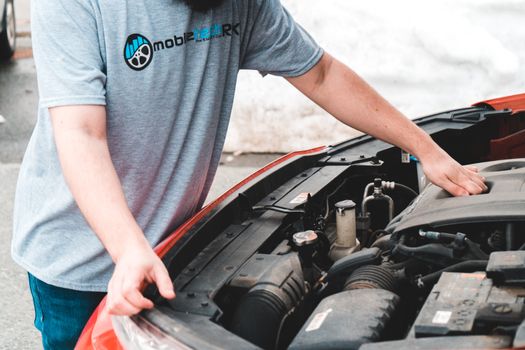 Photo: Erik Mclean / Pexels