✓ Replacing a headlight bulb is a common DIY car maintenance task.
✓ Different bulb types (halogen, HID, LED) require specific handling.
✓ Safety precautions, like disconnecting the battery, are crucial.
✓ The process varies significantly between car makes and models.
How It Works
1
Identify Bulb Type & Gather Tools
Consult your car's owner's manual to determine the correct bulb type and gather necessary tools like gloves and screwdrivers. This initial step saves time and prevents errors.
2
Access the Headlight Assembly
Locate the back of the headlight assembly, which might involve removing plastic covers, air ducts, or even the entire headlight unit. Patience and careful observation are key here.
3
Remove Old Bulb & Install New
Carefully disconnect the electrical connector and unclip or twist out the old bulb, taking care not to touch the glass of the new bulb. Insert the new bulb, ensuring it's seated correctly.
4
Test & Reassemble
Before fully reassembling, test the new headlight to ensure it functions properly. Then, reattach all components in reverse order, securing them tightly.
Understanding Your Headlight System: Types and Components
Photo: Jakub Pabis / Pexels
Before diving into the practical steps of how to replace a car headlight bulb, it's crucial to understand the different types of headlight systems and the components involved. This foundational knowledge will not only make the replacement process smoother but also help you troubleshoot potential issues and choose the right replacement bulb.
There are primarily three main types of headlight bulbs commonly found in modern vehicles: Halogen, High-Intensity Discharge (HID), and Light Emitting Diode (LED). Each type has distinct characteristics, installation requirements, and safety considerations.
Halogen bulbs are the most common and traditional type. They work similarly to incandescent household bulbs, using a tungsten filament encased in a halogen gas-filled glass capsule. They are relatively inexpensive, easy to replace, and provide a warm, yellowish light. However, they are less energy-efficient and have a shorter lifespan compared to HID and LED options. When replacing a halogen bulb, it's paramount to avoid touching the glass with your bare hands. The oils from your skin can create hot spots on the bulb's surface, leading to premature failure due to uneven heating. Always use gloves or a clean cloth to handle them.
High-Intensity Discharge (HID) headlights, often referred to as Xenon lights, produce a much brighter, whiter, or bluish light than halogens. They don't use a filament but instead generate light by igniting noble gases (like xenon) within a sealed capsule. HIDs require a ballast and igniter to operate, which convert the car's 12V power into the high voltage needed to strike the arc. Replacing HID bulbs can be more complex and potentially dangerous due to the high voltage involved. It's crucial to ensure the vehicle is completely off and the battery is disconnected before attempting to replace an HID bulb, and to allow time for the electrical system to discharge any residual current.
Light Emitting Diode (LED) headlights are the newest technology, offering superior energy efficiency, an extremely long lifespan, and a bright, crisp white light. They are composed of multiple small LEDs, often arranged in a specific pattern to create the desired beam. While LED bulbs themselves are solid-state devices and don't produce extreme heat at the light source, they generate heat at their base, requiring heat sinks and sometimes cooling fans. Replacing LED bulbs can range from straightforward (if they are designed as direct plug-and-play replacements for halogens) to very complex (if they are integrated into a larger headlight assembly).
Beyond the bulb itself, the headlight assembly includes several other important components. The housing protects the bulb and internal reflectors from the elements. The reflector or projector lens system is designed to shape and direct the light beam onto the road, ensuring proper illumination without blinding oncoming drivers. The electrical connector provides power to the bulb. Understanding these parts helps in diagnosing issues beyond just a burnt-out bulb. For more detailed information on different bulb technologies, check out our guide on automotive lighting technology. Knowing which type of bulb your car uses is the first and most critical step in a successful replacement.
Step-by-Step Guide: Replacing Your Headlight Bulb
Photo: MaLeK DriDi / Pexels
Now that you understand the different types of bulbs and the overall headlight system, let's walk through the detailed, step-by-step process of how to replace a car headlight bulb. Remember, while the general principles apply, specific procedures can vary greatly between vehicle makes and models. Always refer to your car's owner's manual for precise instructions and diagrams.
**Step 1: Preparation and Safety First.**
Before you even think about touching the headlight, ensure your car is parked on a level surface, the engine is off, and the parking brake is engaged. For added safety, especially when dealing with HID or complex electrical systems, disconnect the negative terminal of your car battery. This prevents accidental shocks or short circuits. Gather your tools: typically a flathead screwdriver, Phillips head screwdriver, a small socket wrench set, and a pair of clean gloves. The gloves are crucial, particularly for halogen and HID bulbs, to prevent skin oils from damaging the new bulb.
**Step 2: Accessing the Headlight Assembly.**
This is often the trickiest part. In many modern vehicles, the headlight assembly is tightly integrated into the engine bay or fender. You might need to remove several components to gain access to the back of the headlight bulb. This could include:
* **Plastic engine covers:** These often clip or screw into place.
* **Air intake ducts:** These flexible tubes might need to be detached or moved aside.
* **Battery or fuse box:** In some cases, you might need to temporarily relocate the battery or a fuse box for better access.
* **Wheel well liner:** For some models, you can access the headlight bulb by partially removing the wheel well liner and reaching through.
* **Entire headlight unit:** In certain vehicles, particularly those with complex headlight designs or limited engine bay space, the most straightforward (or only) way to change the bulb is to remove the entire headlight assembly. This usually involves unscrewing a few bolts (often accessible from the top or side) and carefully wiggling the unit out. Be gentle to avoid scratching paint or damaging connectors.
Take photos as you go along, especially when removing multiple components. This will serve as a helpful reference during reassembly.
**Step 3: Removing the Old Bulb.**
Once you have clear access to the back of the headlight assembly, you'll see the electrical connector attached to the bulb.
* **Disconnect the electrical connector:** This usually involves squeezing a tab and pulling, or twisting a locking ring. Be firm but gentle; avoid yanking the wires.
* **Remove the dust cover (if present):** Many headlight assemblies have a rubber or plastic dust cover that protects the bulb and wiring from moisture and dirt. Twist or pull this cover off.
* **Unsecure the bulb:** The bulb itself is held in place by a retaining clip, a spring mechanism, or a twist-lock collar. For a retaining clip, push it down and then release it from its hook. For a twist-lock, rotate the bulb base counter-clockwise until it loosens and can be pulled straight out. Note the orientation of the old bulb as you remove it. This will help ensure the new bulb is inserted correctly.
**Step 4: Installing the New Bulb.**
Wearing your clean gloves, carefully take the new bulb out of its packaging.
* **Do NOT touch the glass of the bulb:** As mentioned, oils from your skin can cause premature failure. If you accidentally touch it, clean it with rubbing alcohol and a lint-free cloth.
* **Insert the new bulb:** Align the tabs on the bulb's base with the corresponding slots in the headlight assembly. Gently push or twist the bulb into place until it's securely seated. Ensure it's firmly in position and doesn't wiggle.
* **Secure the bulb:** Re-engage the retaining clip or twist the bulb clockwise until it locks into place.
* **Replace the dust cover:** Ensure it's properly sealed to prevent moisture ingress.
* **Reconnect the electrical connector:** Push it firmly onto the bulb's base until it clicks into place.
**Step 5: Test and Reassemble.**
Before putting everything back together, perform a quick test. Reconnect your car battery (if you disconnected it) and turn on your headlights. Check both low beam and high beam settings, and ensure the new bulb illuminates correctly. If it doesn't work, recheck the electrical connection and the bulb's seating. If it still doesn't work, the bulb might be faulty, or there could be a deeper electrical issue. Once confirmed working, reassemble all the components you removed in reverse order. Ensure all screws, clips, and covers are securely fastened. Double-check that no tools or parts are left behind in the engine bay. For a visual guide on these steps, many online communities and videos provide model-specific tutorials, often found by searching for car repair videos. Proper reassembly is vital for the integrity of your vehicle's engine bay and lighting system.
Common Challenges and Troubleshooting Tips
Photo: Sergey Meshkov / Pexels
Even with a detailed guide, replacing a car headlight bulb can present a few challenges. Knowing what to expect and how to troubleshoot common issues can save you time and frustration.
One of the most frequent challenges is **limited access**. Modern engine bays are often very compact, leaving little room to maneuver, especially around the back of the headlight assembly. If you find yourself struggling to reach the bulb, consult your owner's manual for alternative access points (e.g., through the wheel well liner) or consider whether removing the entire headlight assembly is a viable and safer option. Don't force anything, as plastic clips and tabs can break easily, leading to more expensive repairs.
Another common issue is **difficulty with electrical connectors or retaining clips**. These components can become brittle with age, or simply be difficult to disengage for the first time. Apply gentle, steady pressure. Look closely for small tabs that need to be squeezed or levers that need to be pushed. If a connector seems stuck, a little electrical contact cleaner might help, but avoid excessive force. If a retaining clip breaks, you might be able to find a replacement at an auto parts store, but it's best to avoid this by being careful.
**Bulb orientation** is critical, especially for halogen and some LED bulbs. Many bulbs have specific tabs or notches that must align with the headlight housing for the bulb to sit correctly and for the beam pattern to be accurate. If the bulb is not seated properly, the light output will be scattered, ineffective, and could even blind oncoming drivers. Always pay attention to how the old bulb was oriented when you remove it, and replicate that with the new one. If you're unsure, there are often small arrows or guides molded into the housing.
**New bulb not working after installation?** This is a frustrating but often simple fix. First, double-check that the electrical connector is fully seated and clicked into place. Wiggle it gently to ensure a good connection. Next, verify the bulb itself is properly seated and locked into the housing. If these are fine, check your car's fuse box. A blown fuse for the headlight circuit is a common cause, especially if the old bulb failed due to a short or surge. Consult your owner's manual for the location of the headlight fuses and their amperage. Replace any blown fuses with a new one of the *exact* same amperage. If the fuse blows again immediately, there's a deeper electrical short that needs professional attention. Lastly, although rare, a new bulb can sometimes be faulty right out of the box. If all else fails, try swapping in another new bulb if you have one.
**Moisture inside the headlight assembly** after replacement is a sign that the dust cover or gasket was not properly sealed. This can lead to condensation, reduced light output, and premature bulb failure. Ensure all covers are tightly secured and any rubber gaskets are properly seated. If you notice moisture, you might need to remove the bulb again, dry out the housing, and re-seal everything carefully. Taking your time with these steps can prevent recurring problems and ensure your headlights function optimally for years to come. For more complex electrical issues, consulting a professional mechanic or an auto parts specialist can provide valuable insights and solutions.
Maintaining Your Headlights: Tips for Longevity and Performance
Photo: Tima Miroshnichenko / Pexels
Replacing a headlight bulb is just one aspect of maintaining your vehicle's lighting system. Proper care and proactive measures can significantly extend the life of your bulbs and ensure optimal performance, enhancing both your visibility and safety on the road.
One of the simplest yet most effective maintenance tips is to **keep your headlight lenses clean**. Over time, dirt, road grime, and bug splatters can accumulate on the outer lens, significantly reducing light output. Regularly wash your headlights with soap and water, just as you would the rest of your car. For stubborn grime, a dedicated automotive glass cleaner can be used.
Beyond surface dirt, many older vehicles suffer from **headlight lens oxidation**, where the clear plastic lens becomes cloudy, yellowed, or hazy. This is caused by UV exposure and environmental factors, severely impairing light transmission. There are numerous headlight restoration kits available that can effectively remove this oxidation and restore clarity. These kits typically involve sanding the lens with progressively finer grits of sandpaper, followed by polishing and applying a UV protectant. While a DIY task, it requires patience and attention to detail. Restoring cloudy headlights can improve light output by as much as 50-70%, making it a highly worthwhile endeavor.
**Avoid touching the glass of new bulbs, especially halogen ones.** We've stressed this point, but it bears repeating due to its critical importance for bulb longevity. The oils from your skin create hot spots that lead to uneven heating and premature failure. Always use clean gloves or a lint-free cloth when handling bulbs.
**Check your vehicle's charging system regularly.** Overcharging or undercharging can affect the lifespan of your headlight bulbs. A fluctuating voltage can stress the filaments of halogen bulbs or the electronics of HID and LED systems, leading to early failure. If you notice bulbs burning out frequently or dimming inconsistently, it might be worth having your alternator and battery checked by a professional.
**Consider upgrading to higher-quality bulbs if suitable for your vehicle.** While more expensive upfront, premium halogen bulbs, or carefully selected aftermarket HID or LED conversion kits (ensure they are street-legal and properly installed to avoid glare for other drivers) can offer better light output and longer lifespans. However, always ensure any upgrades are compatible with your vehicle's electrical system and headlight housing. For instance, some LED conversion kits might require resistors to prevent 'bulb-out' warnings in vehicles with CAN bus systems.
Finally, **address any minor issues promptly**. If you notice a headlight flickering, dimming, or occasionally failing before coming back on, investigate it. It could be a loose connection, a failing bulb, or an early sign of an electrical problem. Ignoring these early warning signs can lead to complete headlight failure at an inconvenient or dangerous time. Proactive maintenance ensures your headlights are always performing at their best, providing you with clear visibility and contributing to overall road safety. Consistent attention to these details will not only save you from future headaches but also keep your car safe and compliant with lighting regulations. This proactive approach to car care is essential for any responsible vehicle owner.
Comparison
Feature
Halogen
HID (Xenon)
LED
Light Output
Good
Excellent
Superior
Color Temperature
Warm Yellow
Cool White/Blue
Bright White
Lifespan (Hours)
500-1,000
2,000-3,000
10,000-50,000
Energy Efficiency
Low
Medium
High
Cost (Bulb Only)
Low
Medium-High
High
Installation Complexity
Easy
Medium
Easy to Complex
Heat Generation
High (at bulb)
Medium (at bulb)
Low (at light source, high at base)
Instant On
✓
✗ (warm-up time)
✓
What Readers Say
★★★★★
"This guide was incredibly helpful! I've always paid a mechanic to replace my car headlight bulb, but with these clear instructions, I did it myself in under an hour. Saved me a ton of money and felt so empowering."
Sarah J. · Austin, TX
★★★★★
"My owner's manual was vague, but this article explained the nuances of accessing the bulb on my specific model. The tips on not touching the glass were crucial; I wouldn't have known otherwise. Excellent resource!"
Mark D. · Seattle, WA
★★★★★
"After reading this, I successfully replaced both my low beam headlight bulbs. The step-by-step approach and troubleshooting section were fantastic. My night driving visibility is now significantly improved!"
Emily R. · Miami, FL
★★★★★
"The information was thorough, though I still struggled a bit with the tight space in my engine bay. However, the safety advice and bulb type explanations were invaluable. Definitely a great starting point for DIYers."
David L. · Denver, CO
★★★★★
"I used this guide to replace an HID bulb, which I thought would be impossible for me. The warning about high voltage and disconnecting the battery gave me confidence. It worked perfectly, and I'm very pleased with the result."
Jessica M. · Chicago, IL
Frequently Asked Questions
What is the most common reason a car headlight bulb burns out?
The most common reason a car headlight bulb burns out is simply due to age and filament fatigue for halogen bulbs, or internal component failure for HID/LEDs. Frequent vibrations, voltage spikes from a faulty charging system, or touching the glass of a halogen bulb with bare hands (causing hot spots) can also significantly shorten their lifespan.
Is it safe to replace a headlight bulb myself?
Yes, it is generally safe to replace a headlight bulb yourself, provided you follow proper safety precautions. Always ensure the engine is off, the parking brake is engaged, and for certain bulb types (especially HID), disconnect the car battery. Wearing gloves and taking your time will further enhance safety.
How do I know what type of headlight bulb my car uses?
The easiest way to determine your car's headlight bulb type is to consult your vehicle's owner's manual. It will specify the bulb number and type (e.g., H7, 9003, D2S). Alternatively, you can often find this information by entering your car's make, model, and year into an online auto parts retailer's database.
How much does it cost to replace a car headlight bulb?
The cost to replace a car headlight bulb varies significantly. The bulb itself can range from $10-$30 for a basic halogen, $50-$100+ for an HID, and $30-$100+ for an LED. If you do it yourself, that's your only cost. A mechanic might charge $50-$150+ in labor on top of the bulb cost, depending on the car's complexity.
Should I replace both headlight bulbs at the same time?
It is generally recommended to replace both headlight bulbs at the same time, even if only one has burned out. Headlight bulbs typically have similar lifespans, so if one has failed, the other is likely not far behind. Replacing both ensures consistent light output and avoids having to repeat the process soon.
Who should consider replacing their own headlight bulb?
Anyone with basic mechanical aptitude, a desire to save money on car maintenance, and access to their car's owner's manual should consider replacing their own headlight bulb. It's a fundamental DIY skill that builds confidence for other car repairs.
What are the risks of driving with a burnt-out headlight?
Driving with a burnt-out headlight is a significant safety risk. It severely reduces your visibility of the road and makes your vehicle less visible to other drivers, increasing the chance of an accident. It's also illegal in most places and can result in a traffic ticket.
Are LED headlight conversions legal in the US?
The legality of aftermarket LED headlight conversions in the US is complex. While many kits are available, most are not DOT-approved for use in housings designed for halogen bulbs, as they can create excessive glare. It's crucial to research state laws and ensure any conversion kit is specifically designed and certified for your vehicle's housing to remain street-legal and safe.
Empower yourself with the knowledge of how to replace a car headlight bulb. This simple DIY task can save you money, enhance your road safety, and give you a valuable skill. Don't let a burnt-out bulb dim your journey – take control of your car's maintenance today!
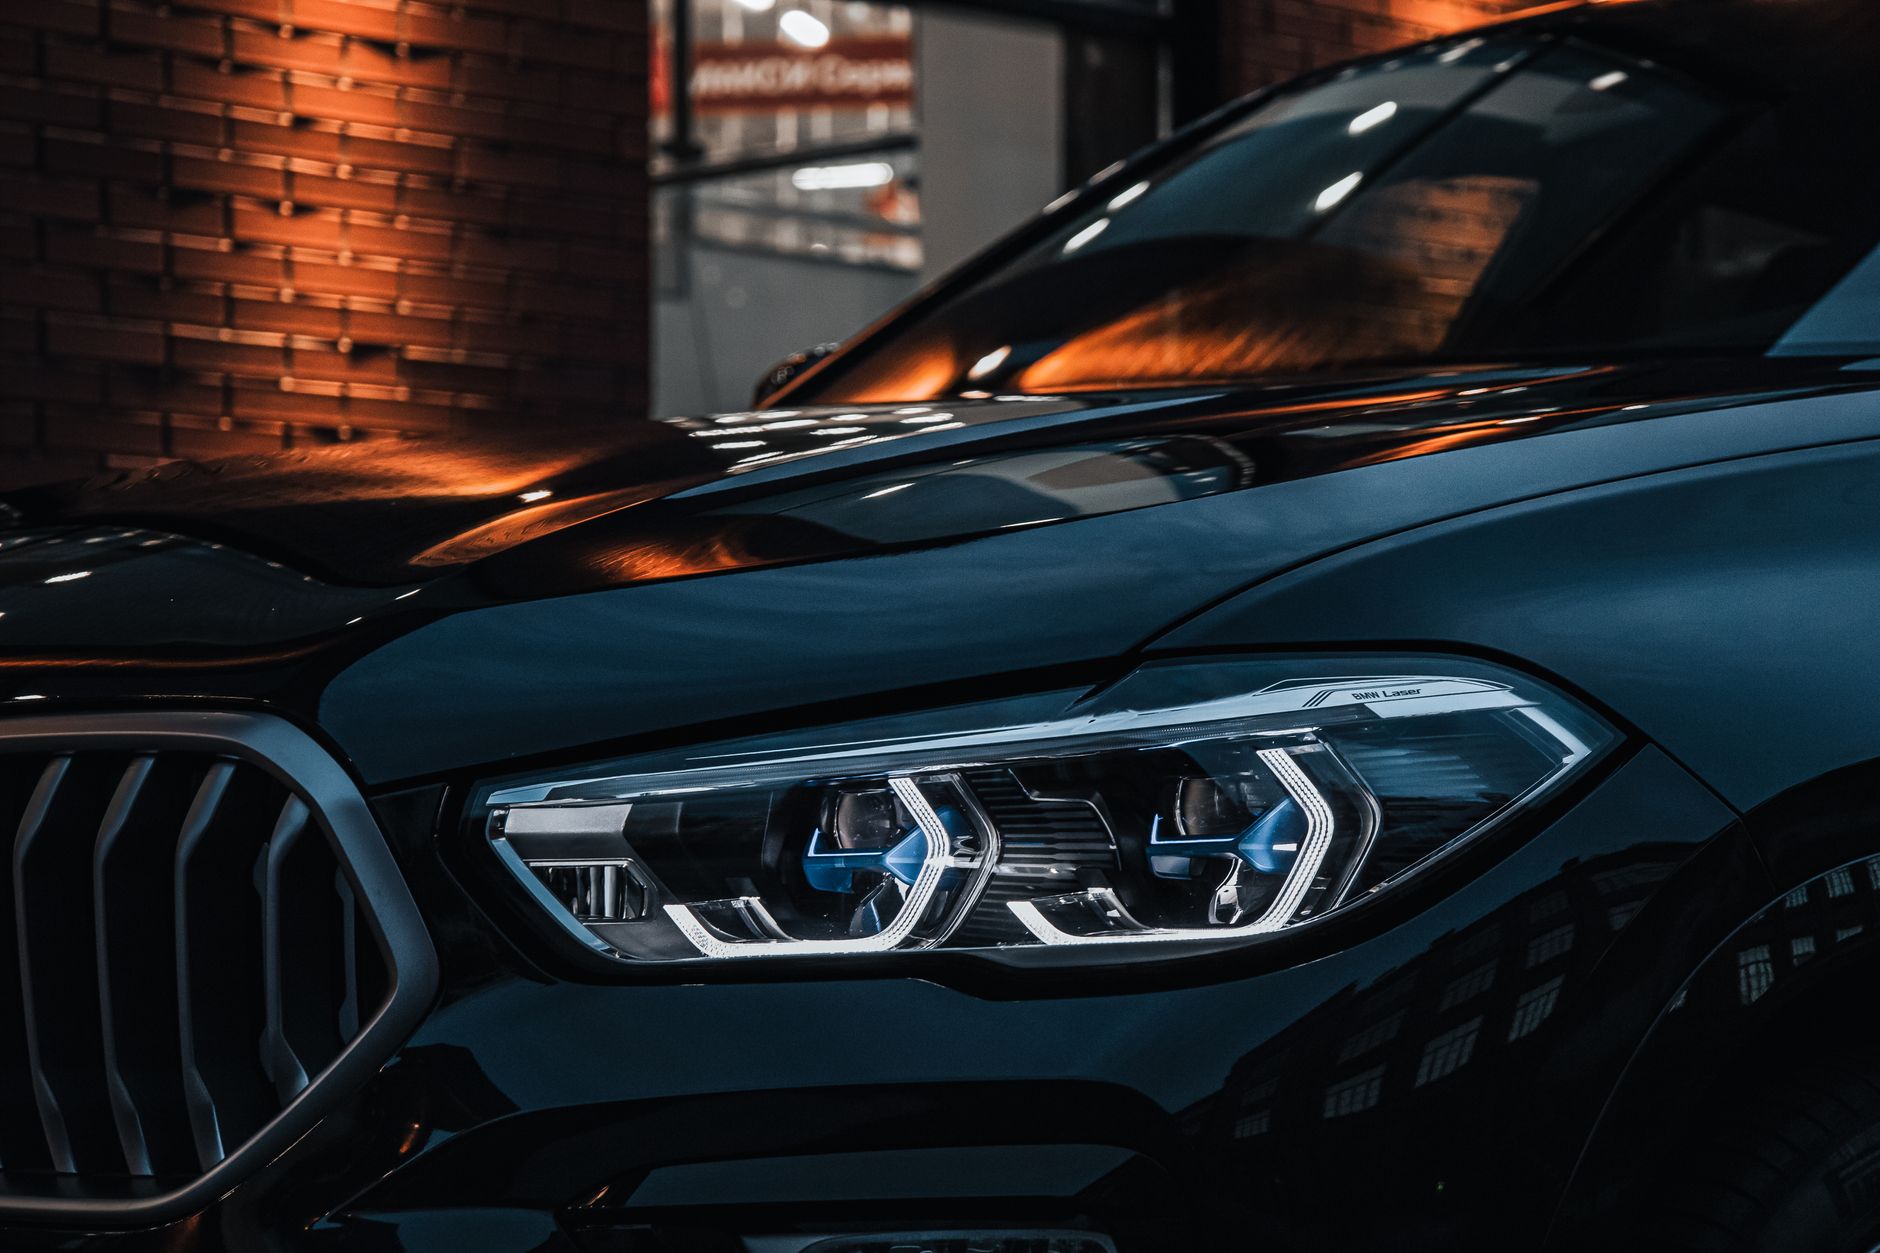
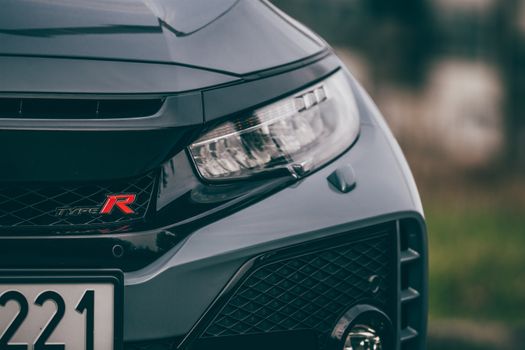 Photo: Jakub Pabis / Pexels
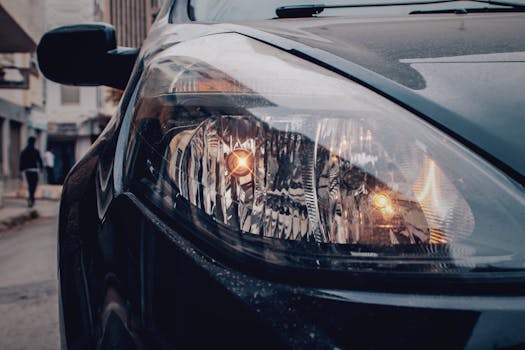 Photo: MaLeK DriDi / Pexels
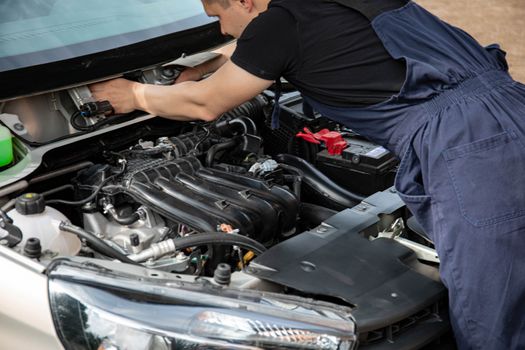 Photo: Sergey Meshkov / Pexels
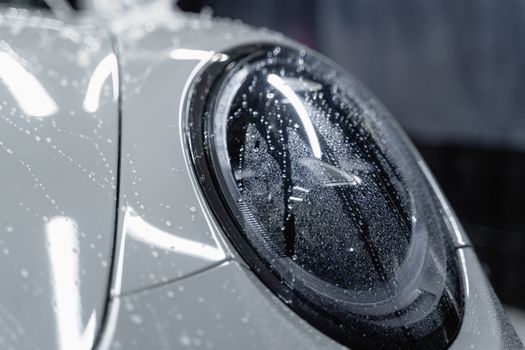 Photo: Tima Miroshnichenko / Pexels